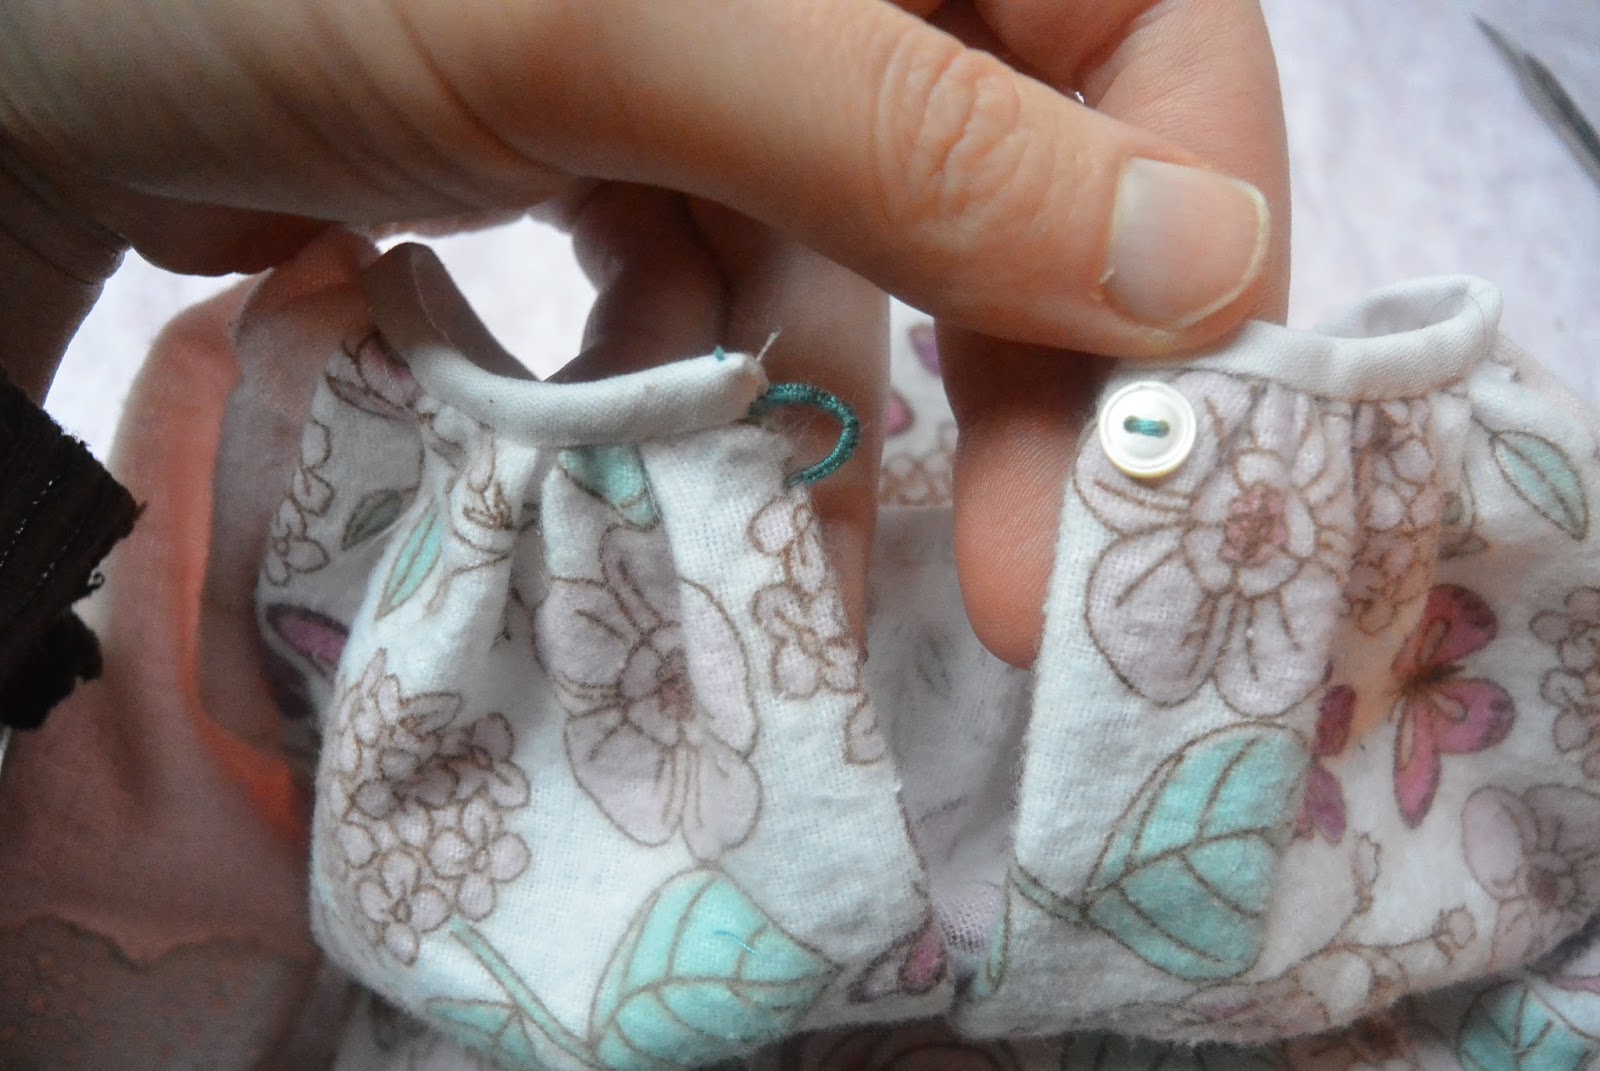
Before I get started on the how though, I would like to make a few notes about safety. It is absolutely IMPERATIVE that you do this properly, and do not skimp or make do with the materials. A slipshod job or improper materials could lead to your baby being injured! So take the time to do it right, and do NOT skimp on your materials. For the sling itself you want a material that has a firm hand and very little stretch. Plain old cotton sheeting, or even good quality quilters cotton will NOT do. it will get saggy and deformed and you will not be happy. It will be difficult to support your infant in properly, and that can be unsafe. May people use upolstry weight cottons with excellent results. I find this bulky and difficult to adjust well. I have used high quality cotton batiks for all the slings I've made (and my orignal sling is six years and three children old and still going strong) Quilters batiks are dyed onto a firm, tightly woven fabric. We actually tell people at the quiltshop to use a smaller needle on batiks because the fabric is so much denser. It has a nice hand, it's lightweight, and it "holds" really well in the rings. It also comes in a lot of fun prints and great colors, which is wonderful. My original sling was grey with a red shoulder so that it would be sort of gender neutral and my husband wouldn't mind wearing it. This time around I said to heck with that, and I chose this colorful butterfly wing print for this sling.
The rings are equally important. It is really crucial to not just pick up rings at the craft or hardware store. Get rings specifically designed for slings from a reputable source. Mine are anodized seamless cast aluminum from slingrings.com, they have wonderful colors and a lot of options. I happened to have a pair of size small rings hanging around which I used for this project. I much prefer the size large rings personally, but that's a matter of preferance. People who are smaller framed may find the large rings uncomfortable.
A final note about safety before I talk about constuction. There was a big fuss some years ago after a couple babies suffocated in slings. This was really terrible and tragic, but was also a combination of improper positioning and a really poorly designed if not straight up dangerous sling style (I believe that both slings involved were the "duffle" style of padded carrier) Slings and wraps are just as safe as soft structured carriers like the ergo etc, as long as you follow a few simple safety tips for positioning your infant. Just like you would never pick up a newborn without supporting their head, you have to properly position your baby in your sling! Babywearing international has wonderful infomation on their website here and this is a great overview Here. Better yet, see if you have a local babywearing international chapter that you can attend, then you can get advice about using your sling, and try out a lot of different slings.
the construction of the sling is really very simple. you will need 1 1/2 to 2 1/2 yards of batik, plus about a quater of a yard of complimentary fabric for the shoulder (this needn't be batik. I'm using Kona black for this one.), and a scrap of batting. You also need the shoulder pad pattern, downloadable HERE. How long you want the sling to be depends on how big you are and how long you want the tail to be. I am completely happy with a yard and a half. My husband cannot wear a sling that short. It's easiest to measure by looping a tape measure about yourself and playing with the length. A yard and a half is probably minimum though.
 Take your sling fabric, and cut it 30 inches wide. I do this by notching the end with my scissors and then ripping it lengthwise. This ensures that the edge is absolutely straight along the grain, which is important as the long side hems act as your "rails" and need to have as little stretch as possible. Then turn over a quarter inch rolled him on both sides. I use an old trick from school here, and stitch at a quarter inch along where I am going to hem. Then I can accurately make a quarter inch turn up by turning "on the dotted line" so to speak. Then I just turn again and topstich. The seam I used to mark is invisible in the finished product.
You may finish the tail end of the sling any way you want, either by simply hemming it, or adding a contrasting binding or facing. The shoulder end is going to be attached to the shoulder piece. Pleat it to the same length as the opening of the wide end of the shoulder pad less 3/4 inch for seam allowance. Once the pleats are the way you like, run a row of stitching over it to keep it in position.
 Cut out 2 of the shoulder piece, and lay them down on your batting. I am using two layers of quilters dream "dream angel" request weight batting simply because that's what I have scraps of at the moment (I normally have scraps of it because it's my favorite batting) I would not use an extremely puffy batting, or a cotton batting. Use the fabric as a pattern to cut the batting, and sew along the two long edges, leaving the ends open. I used a 3/8 inch seam allowance. Make sure both layers of fabric are right sides together on top of both layers of batting so when you turn it the batting and all the seams will be encased. (This is one of those things that I always have to double check or else I will do it backwards. Like sleeves. I still occasionally set sleeves inside out by accident.)
 After you've sewn the seams, trim the batting all the way back to the line of stitching, to prevent bulk when you turn it right side out.
  Turn the shoulder right side out and press it. Then pin the pleated end of your sling to the "top" layer of your shoulder, this is the side that has the batting against it. Pin right through the batting.
  Sew this seam with a half inch seam allowance, then turn around and sew it again, as close to the first row of stitching as possible. This seam is holding up your infant. A little over engineering is a good thing. Trim the batting right back to the seam line again. Do NOT trim the seam allowances. You're going to sew through these again to make sure that this shoulder never ever comes undone or rips or does anything else unfortunate.
 Straighten it out and press it, turning the seam allowances to the inside of the shoulder all the way around. Then quilt the shoulder pad as desired. Notice that I started with two rows of tight stitching an eight of an inch apart right at the end of the shoulder. This is both securing the turned under raw edge on the bottom of the shoulder pad to the sling itself, and sewing through those seam allowances again, securing the shoulder even more firmly to the sling.
And that's it. Not much work is it? the whole thing can be finished in a couple hours. Happy baby wearing!