I chose to work from the Thorsbjurg trousers, which are an almost complete garment found in a bog. Although they probably date to the migration era (guesses go as early as the 3d century) a find at Hedeby dated to the 10th century has the same kind of crotch construction, and examples in viking art show similarly shaped trousers, so it seems fair enough to extrapolate from the existing garments, with a few changes to more closely match the pictoral evidence (goodbye attached feet, it was nice knowing you....). There is a great overview of the available evidence for styles of men's trousers in the viking era available from Sunnifa Gunnarsdottir.
 |
| Ready to draft some pants! |
Once you get your patterns drafted you're going to end up with some strange looking pieces that look almost nothing like pants as you know them. If you're like me you are going to scratch your head and fetch more tea. The construction is decidedly odd, but it works really really well. Many sources say that these trousers are much less likely than a modern trouser to have "reanactor's crotch" when put to active use, and my husband said that they are so light and comfortable that he can hardly tell they're there. Since I doubt Mrs. Viking enjoyed attempting to fix torn out crotch seams any more than I do, I can see why this pattern stayed around for so long. It's just flat out practical. It also makes surprisingly efficient use of fabric. Once I had cut out my trousers I had just a handful of scraps left, and I used a lot of those for belt loops. Effecient use of fabric would have been esential for Mrs. Viking who would have likely first spun the wool for these trousers, and then woven it on an upright loom. Every wasted scrap of fabric would have represented hours of labor lost. It's pretty nice for us modern girls as well, when we wish to clothe our Mr. Viking husbands on a budget. This used only about a yard and a half of 52 inch wide wool. Which isn't much for pants.
I made up three pairs of these all told, between mock ups and the final, and used a different order of putting things together every time. I like this last way best because it makes it the easiest to fell the seams in the seat area, and you really, really want to fell the seams in the seat area. It makes them flat for comfort, and it makes them strong. and even in thorsbjurg trousers seat seams can use all the help they can get. Especially if the intended recipient is like my husband, who is rough on pants.
 So to construct the pants: After you've cut all your pieces out of a period appropriate fabric (in this case it's a tabby woven wool in a sort of tweedy brown. I may overdye it....) The first step is to attach the long crotch gusset to the crotch line of one pants leg. this is the short sharply curved line. You should line the wide blunt end of the crotch gusset up with the sort of pointy bit seen at top right, and sew UP towards the waist. The crotch gusset will be several inches too long. Don't try to ease it in, just leaving a tab of the crotch gusset dangling. You'll use that bit of crotch gusset later in the waistband. Once it's on, you can fell that seam. I felled all the seams in this garment by hand with an overcast stitch, partially because I dislike visible machine stitching on exterior garments, and partially because I had a momentary lapse and made 3/8th inch seam allowances which are no good for machine felling on thickish wool. The hand felled seams go to the inside of the garment, and are basically invisible from the outside. I did consider just basting the seams to one side then using herringbone stitch over the seam allowances from the outside (a popular technique) but thought my husband might not appreciate having the crotch of his pants thusly beautified.....
Now you can attach the second leg piece to the other side of the crotch gusset in the same way. Going from the blunt point on the inside of the garment up towards the waistband, then flat felling the seams. I've marked the seams on these photos in red so you can see more clearly how it all goes together.

Now you attach the WIDE end of the seat panel to the crotch gusset/leg assembly. (I did this wrong the first time through, it seems counter intutive but it's part of what makes this pattern work so well.) And then you fell that seam.

Now you have a very strange looking floppy thing that you cannot imagine ever becoming pants. (notice the protruding tip of the crotch gusset at what will become the center front.)

But, fold them in half and line up the long straight edge with the remaing curved seam.... and..... wow that looks kinda like a funny baggy pair of pants. You can flat fell this seam or not as you choose. I chose to overcast stitch it with a nicely contrasting red wool thread (on the inside of the garment) this is a period correct finishing technique.

 Now it becomes obvious how to go on. You line up the waistband with the center back, and sew it on, making sure that over the the ends overlap the protuding center tongue of your crotch gusset by a half inch or so. I cut the waistband double width with the straight edge on the fold so I could just fold the raw edge in, fold it in half, and whip stitch it down over the seamline on the inside, thus enclosing the whole seam. On the original garment it is just a single layer with a hemmed upper edge.
Then you have to deal with that funny bit in the front by tucking the ends of the waistband under and stitching the ends of he waistband to the top "tab" of the crotch gusset. You can see in the finished pant that the crotch gusset neatly splits the waistband at the front. I have simply hemmed the top edge of the crotch gusset, although I may at a later date cut a small piece and sew it onto the backside to strengthen this area.
The only thing remaining after this is to add belt loops. The original belt loops were just cut strips of fabric, not hemmed in any way that has survived. I opted to fold long strips in thirds along their length and whip stich down the raw edge, then cut belt loops out of these. I felt it was stronger this way and would hold up to wear better. Add a piece of tablet weaving for a belt, and voila, pants! And although it may seem like a lot of work, honestly it's not. I drafted these and did two mock ups one evening, and then completed the pants in a second evening of work, perhaps 10 hours total labor?
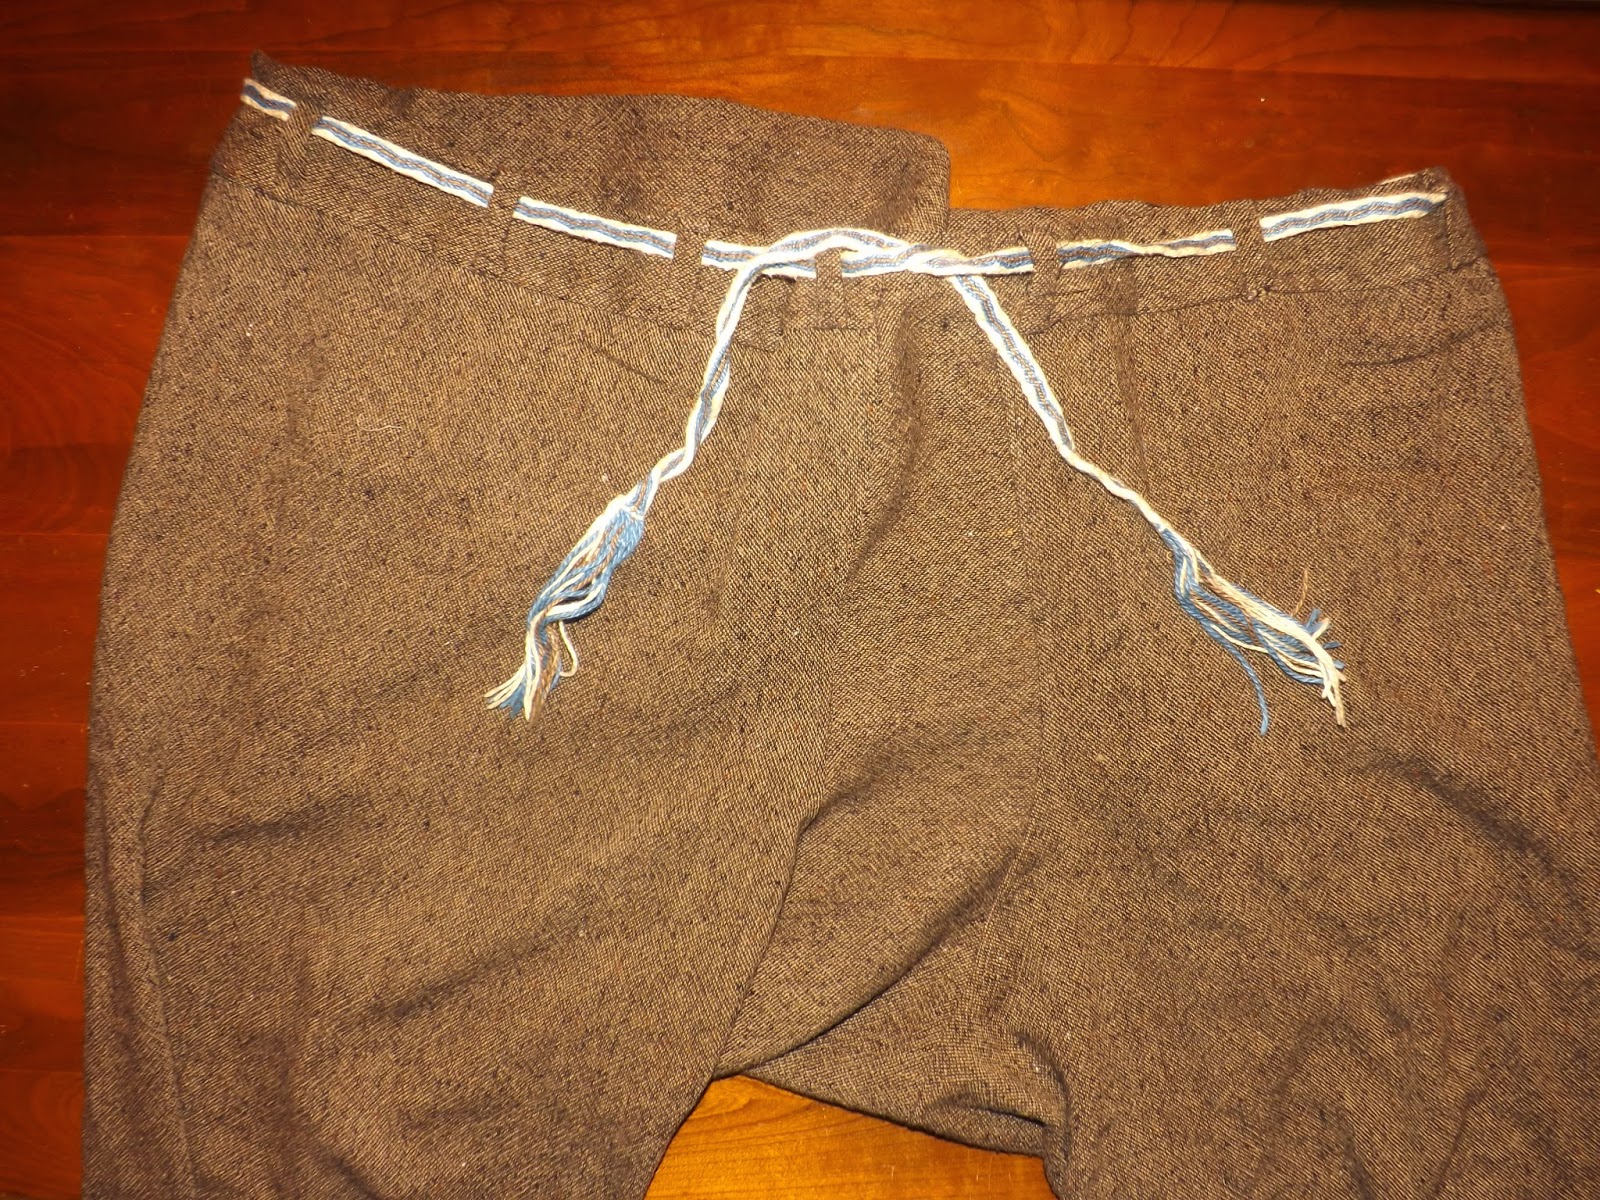 |
| From the front. Don't judge the "belt" this was my first tablet weaving project from may moons ago and it's abit.... funny |
 |
| and the rear. You can see the sort of baggy bottom effect. You can wear it with the waistband rolled over the belt or not by personal preference. Both seem to be authentic. as per artistic evidence. |
 |
| Eternally happy to be photographed. |
 |
| At Dancing Fox with the boys |
So there you have it, quick and dirty men's viking garb. All this was completed in less than a week, and that includes having to make the shirt twice. I'm looking forward to getting the embellisments done so it looks better! Right now it's fairly uninspiring.
"...but thought my husband might not appreciate having the crotch of his pants thusly beautified....."
ReplyDeleteTEARS of lol.